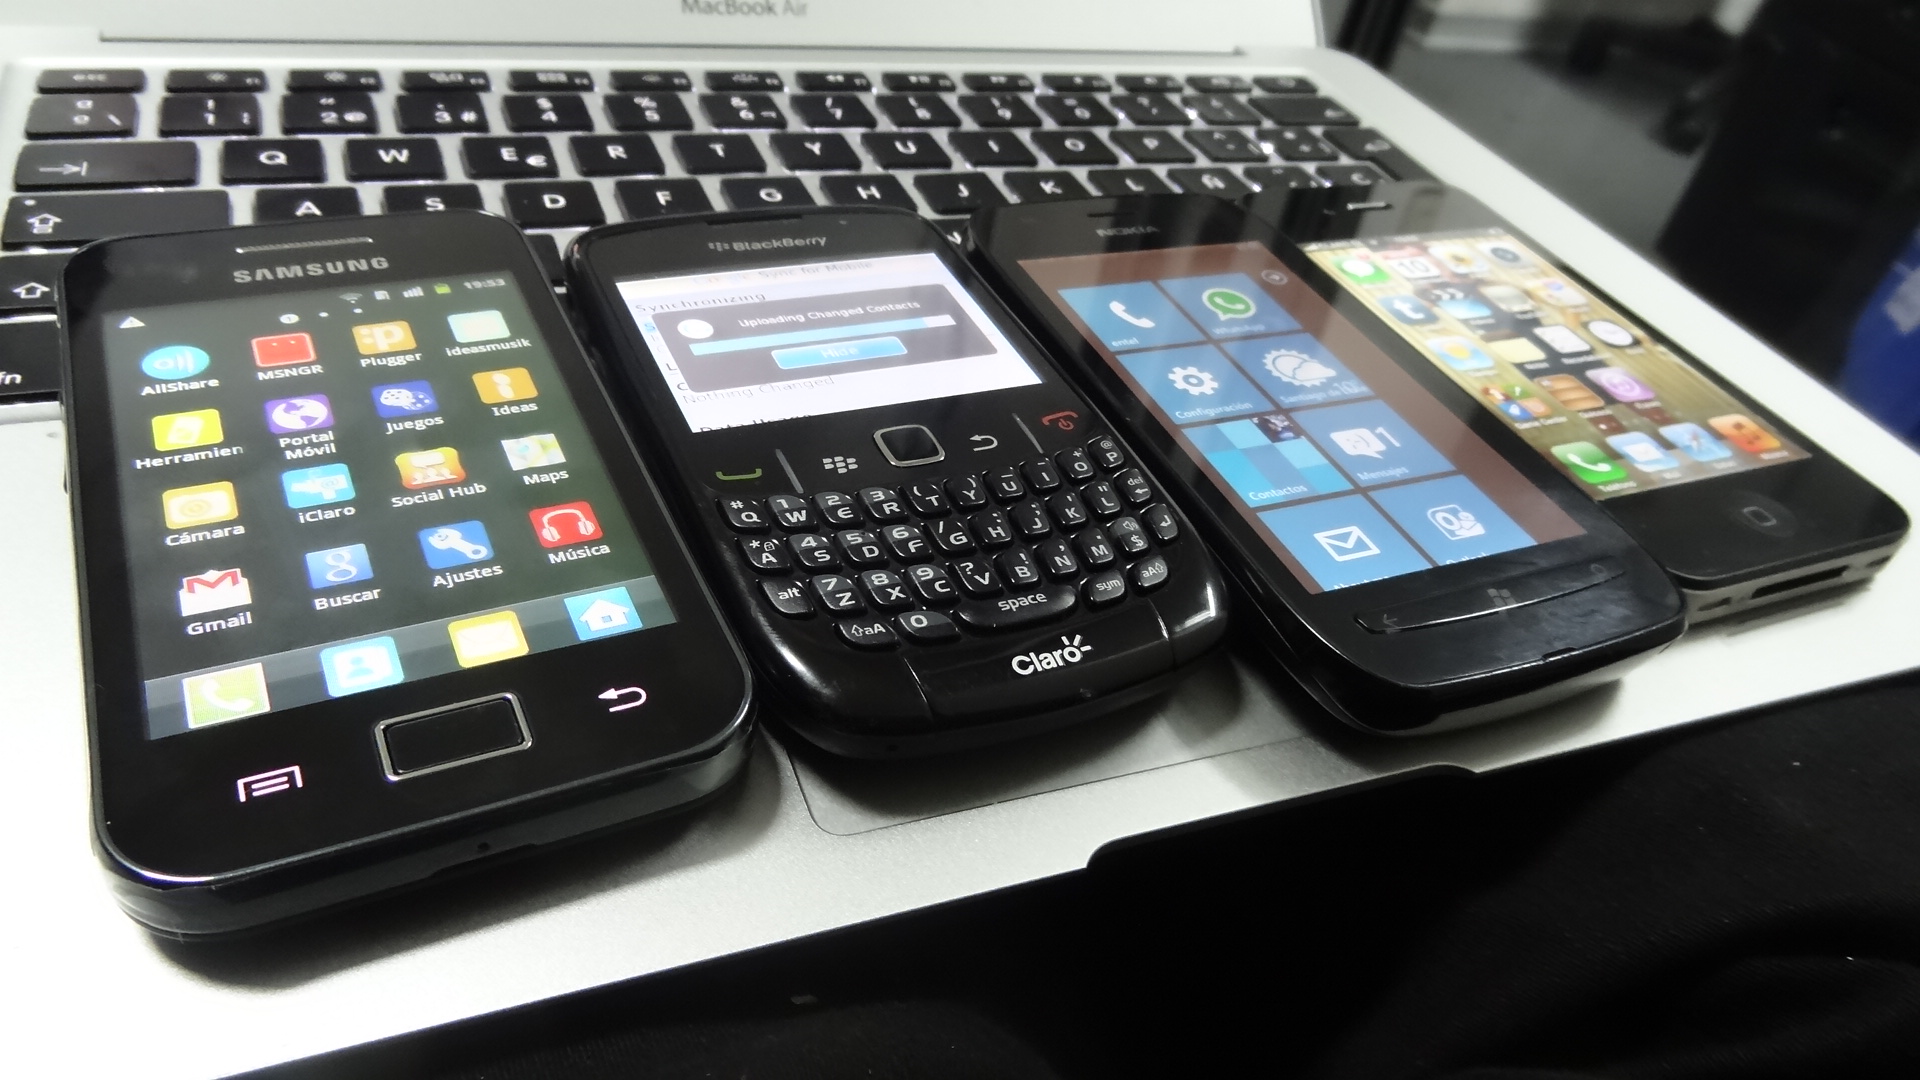
Do you have an old Android phone? Sure you do! There’s a mind-blowing amount of electronic waste of all kinds, and with the average person in developed countries discarding their phones every couple of years, discarded smartphones are probably one of the most common forms of e-waste.
I had an old Motorola G5 Cedric gathering dust, so I decided to do something with it – it is now running a Puma web server with a simple Sinatra webapp.
Now, before going any further, you might be thinking: what is the real, practical use of all this? An old Android phone probably isn’t going to have a stellar performance, but neither do those t2.nanos, honestly. I’m yet to deploy any “real” code on an Android, but even the cheaper and older phones do commonly have quad-core or even octa-core CPUs, and at least 2GB RAM, so at least in theory a phone should be close – ballpark, at least – to the most modest cloud IaaS offers our there (t2.nano has 512MB for instance). Of course, a phone has an ARM processor while IaaS usually are x86; memory management is entirely different as well, but still – we’re talking ballpark estimates here.
Anyway, this is a short tutorial on how to repurpose an Android device as a web server – or any number of different things, really.
1. Install Termux
First of all we need a Linux environment in our phone. Termux is a terminal emulator and Linux environment for Android. It’s available on Google Play Store. No additional configuration is needed after installation.
2. Set up SSH
You won’t want to type a lot of commands into a tiny touchscreen, so let’s set up ssh so that we can log into Termux remotely.
There are several ways of doing this, but I’ve found that the easiest way is through a software called Dropbear:
Run this on Android:
pkg upgrade
pkg install dropbear
You can use password-based authentication or public key authentication. You should use key-based authentication, but for testing purposes password-based is easiest. Run this on Android:
Run this on Android:
passwd
New password:
Retype new password:
New password was successfully set.
Bonus points: install a terminal multiplexer like tmux or screen. This will make your life much easier when running stuff via ssh:
pkg install tmuxNow go ahead and test the connection on your desktop:
ssh android-ip-address -p 80223. Set up static IP address on Android
Go to wifi settings, disable DHCP and assign an IP address for your phone.
This is necessary so that your router won’t assign a new IP address to your phone every few hours/days, which would make configuration a lot harder.
4. Install Ruby, Bundler, Sinatra and Puma
Sinatra is a lightweight web application framework, and Puma is a web server.
Ruby is, well Ruby!
Of course, Sinatra and Puma are just suggestions – you could even use full-blown Rails on your phone, as described in this neat tutorial. Just don’t use WEBRick, the default Rails web server in development – it is single-process, single-threaded and thus not suitable for production environments (it is fine for small experiments though).
Run this on Android:
pkg install ruby
gem install sinatra puma
Install nginx
nginx is a web server, reverse-proxy and load balancer. Although most useful in multi-server setups where it is used to distribute requests among different instances, nginx is also a good idea in our setup because of the embedded DDoS protection and static file serving that it provides.
Run this on Android:
pkg install nginxNow the slightly tricky part is configuring nginx to work with Puma. This gist is a pretty good start – copy & paste nginx.conf and change appdir to your webapp’s root dir. In my case, for example, that would be /data/data/com.termux/files/home/android-sinatra.
Set up port forwarding
You probably want your web server to be accessible through the internet, so you’ll have to set up port forwarding in your router to redirect incoming requests to your public IP address to your brand new Android web server.
How exactly to do this varies depending on your router. Here’s a pretty good tutorial to get you started.
Configure a dynamic dns
Most people have dynamic public IP addresses. In these cases it is useful to set up a dynamic dns (DDNS) service, which provides you with a static domain name that redirects automatically to whatever your public IP address is at that moment.
There are few free services that provide DDNS nowadays; I’m using no-ip and it has been okay so far. You do have to “renew” your domain every month though.
After setting up a DDNS, you’ll have to configure your router as well so that it periodically notifies the DDNS service with your current IP address. Again, how exactly to do this depends on your router model.
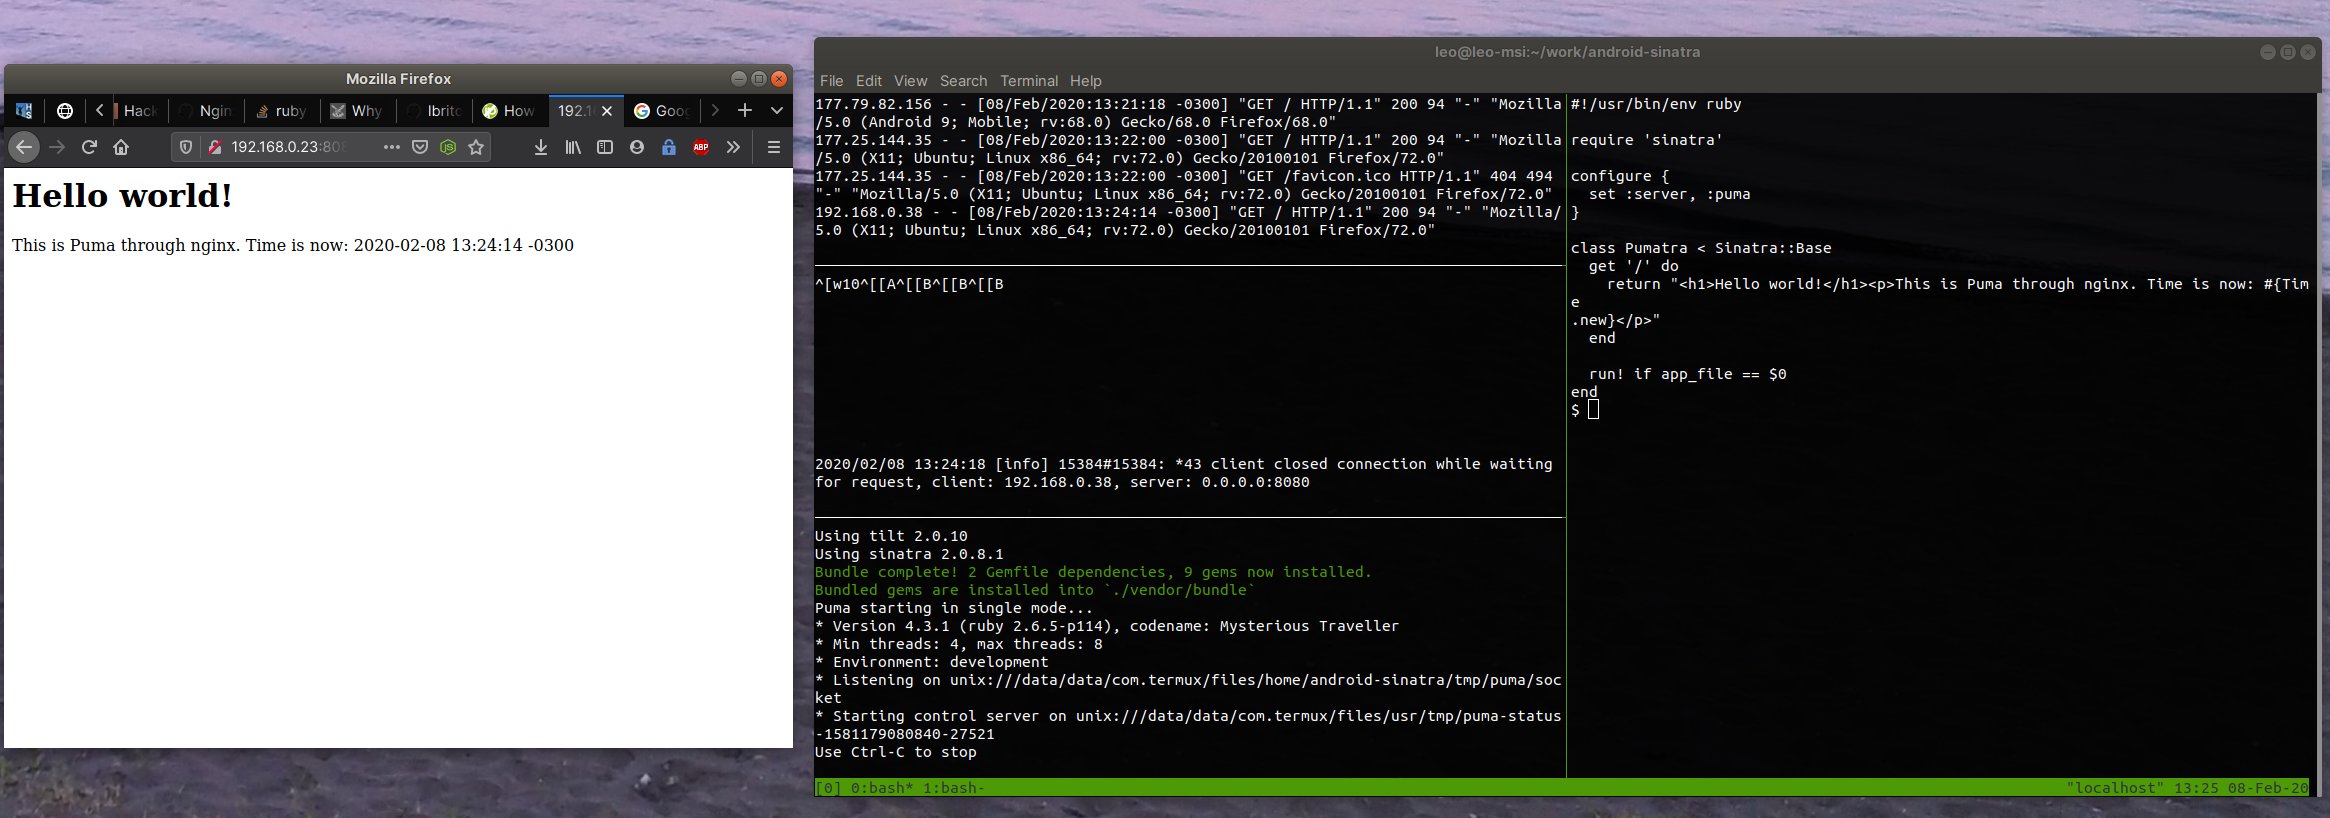
Hello world!
Under siege
You can simulate real-world usage through siege, a http load testing software. Here’s a screenshot of siege running on my setup with 3 concurrent users (real tests would use bigger numbers):
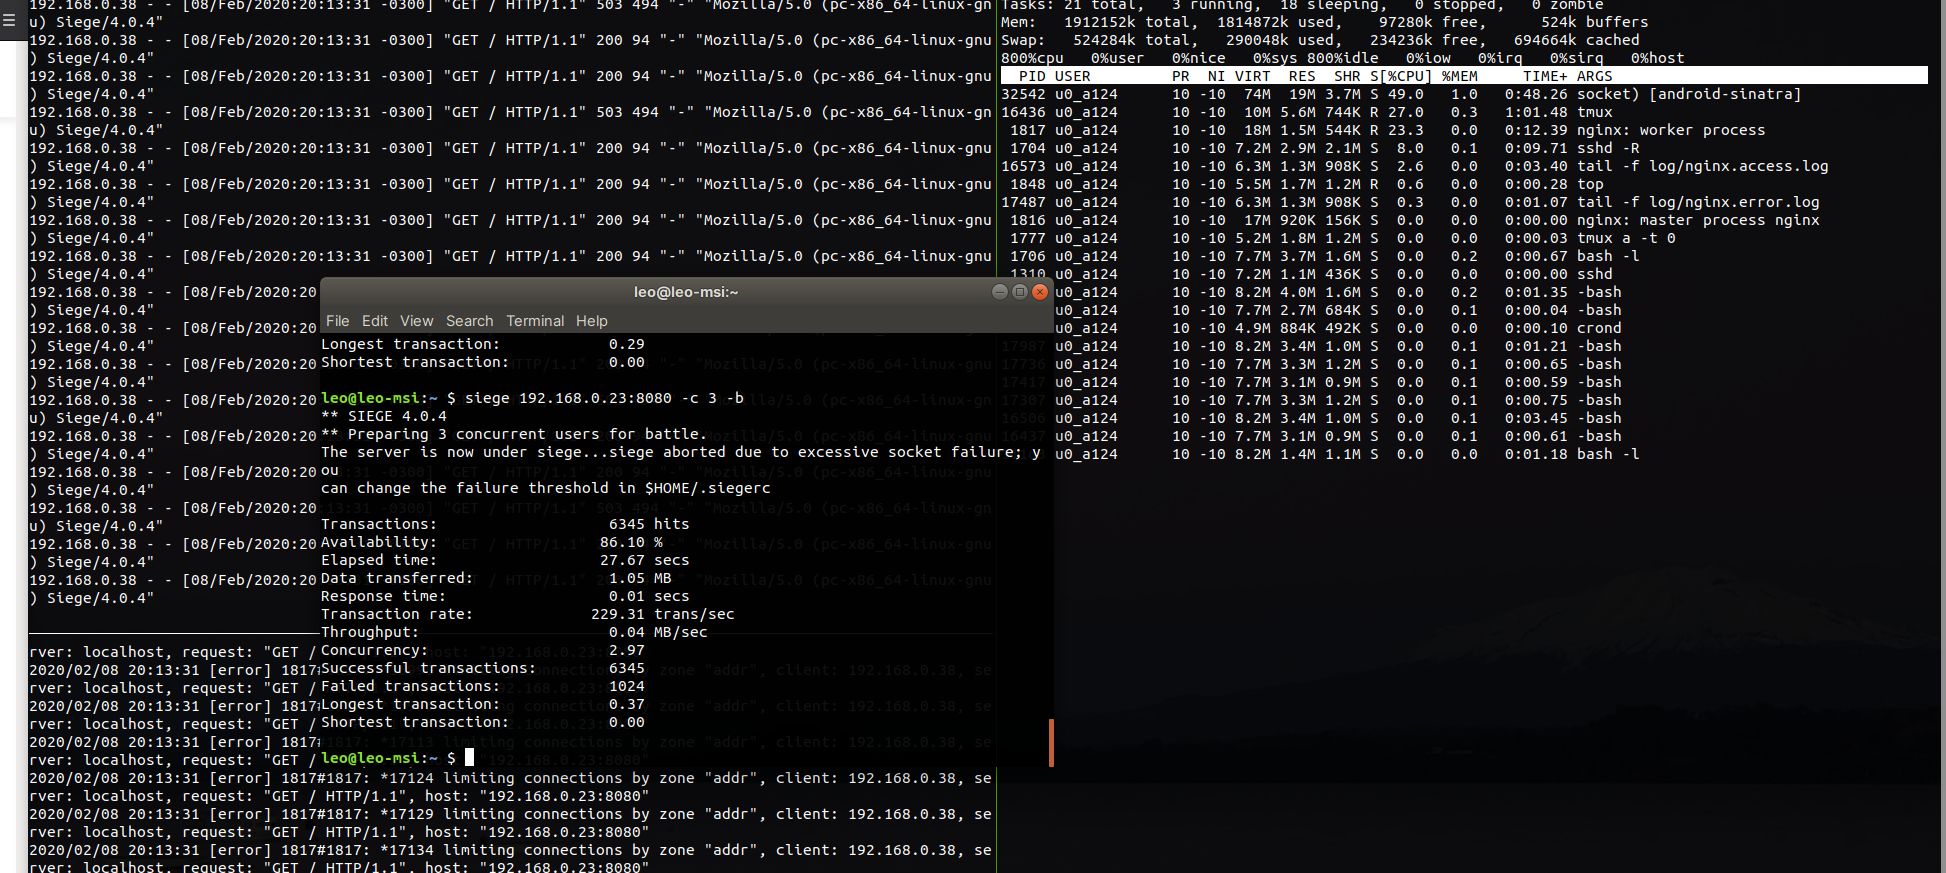
The numbers in that screenshot don’t matter much because our webapp was serving a simple 100-char response with a timestamp, but it is enough to at least know that the server can handle a few concurrent users.
Epilogue: safety
If you’ve watched Mr Robot, you know that the internet can be a dangerous place. That is a lot more true if you have a web server open to the internet.
Within a few hours of opening up the server, it was already being crawled by all sorts of things. Most are innocuous indexing robots, but some are definitively not so nice, like these two requests:
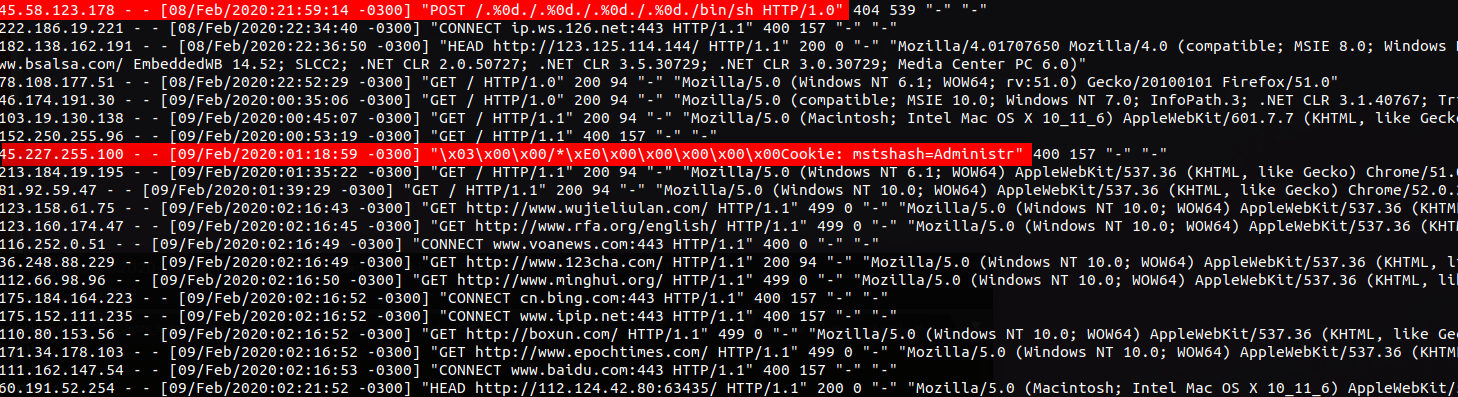
So the headline here is: keep all software updated, keep an eye on access logs and maybe go through nginx safety guides such as this and this.